

Help & Guide
Getting started
Make your first printable material in under a minute.
- 1Go to Create and describe what you need, or search Pictures and tap images to collect them in your tray.
- 2Pick a template: flashcards, boards, matching, tracing, schedules and more.
- 3Preview, tweak colours and labels, then Download PDF or PNG.
- 4Save it and it lands in My Library, ready to reuse, share or turn into games.
💡 Everything in the app starts from a material: one set of pictures becomes a printable, a talker, games and a home practice activity.
AI Create
Let AI build a complete material from a sentence.
- 1Open Create and type what you need, e.g. “a feelings board for a 5-year-old who loves dinosaurs”.
- 2AI picks the words, pictures and template for you in one go.
- 3In the wizard, use the floating AI chat bubble to refine it: “make it about the beach”, “add 4 more”.
- 4Your Evidence Library guides the AI, so materials follow the frameworks you trust.
💡 Mention the client's interests in your request. Personalised materials hold attention much longer.
Pictures & packs
Find symbols and photos, or grab a ready-made word pack.

- 1Search any word and tap a picture to add it to your tray (the bar at the bottom of the screen).
- 2Choose between symbol styles and real photos in the search results.
- 3Browse Packs for ready-made word sets like feelings, food or routines, or create your own custom pack.
- 4When your tray is full, jump to the wizard to lay everything out.
💡 The tray follows you around the app, so you can gather pictures from several searches before building.
My Images
Use your own photos in any material.
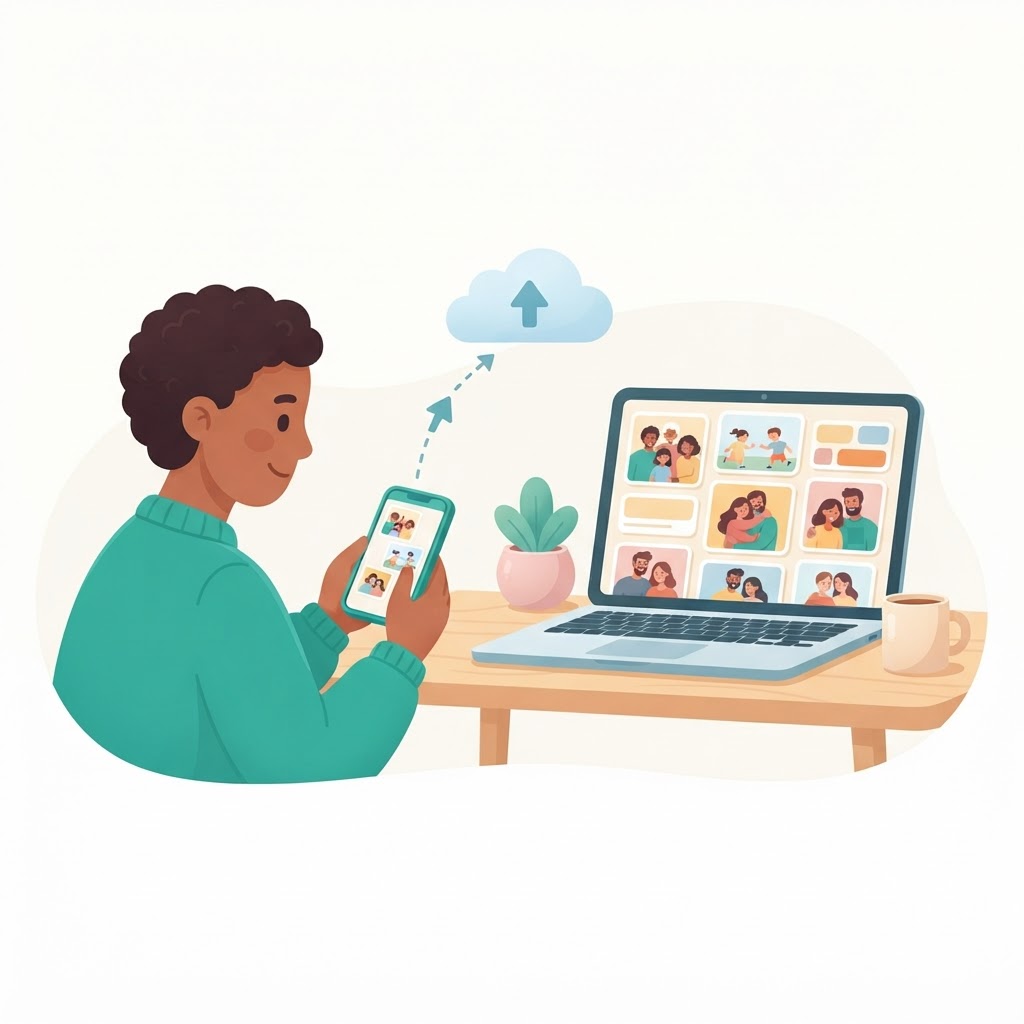
- 1Open Pictures then My Images and upload photos from your device.
- 2Use the sort menu to order by date or name, or group them by theme with AI.
- 3Tap Add to place an image in your tray, ready for any template.
- 4Real photos of familiar people, places and objects are often the most meaningful pictures for a learner.
💡 You can remove photo backgrounds inside the wizard so your own images sit cleanly on tiles.
Characters
Create a consistent character that appears in every picture.
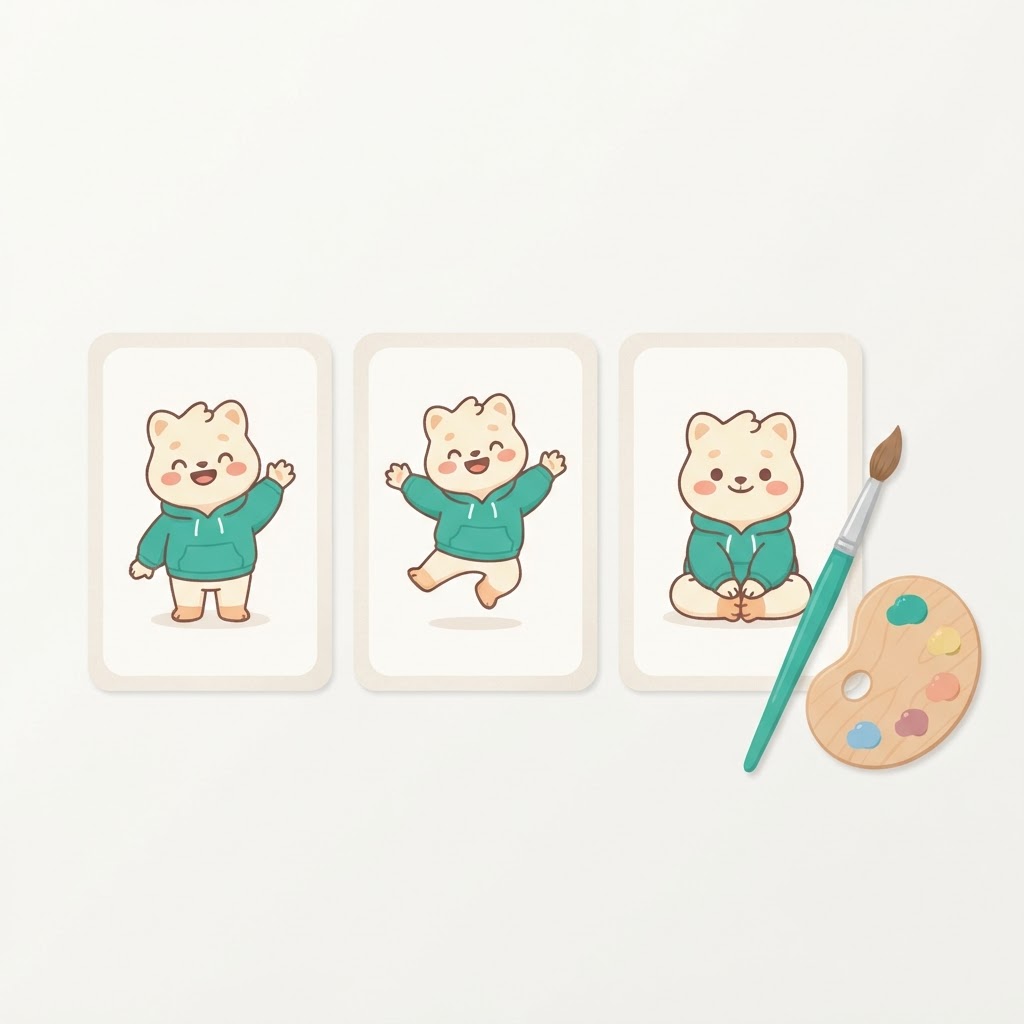
- 1Create a character with a name, look and art style.
- 2Save poses (variations) you like for quick reuse.
- 3When a material uses a character, regenerated pictures keep them consistent. Add a setting like “at the park” to place them in a scene.
- 4Publish a character to the Sharing Centre so other clinicians can use them too.
💡 A familiar character across social stories, schedules and games builds huge engagement over time.
Starting from a template
Choose a ready-made layout and turn it into your own resource.
- 1Open Templates and browse by the type of resource you want to make.
- 2Choose a template to open it with your pictures and words.
- 3Swap pictures, change labels and adjust the layout in the printable editor.
- 4Save the finished resource to My Library so you can reuse or share it.
💡 Start with the outcome you need—such as a schedule, communication board or game—then customise the details.
Printable editor
Where you edit, style and print your material.
- 1Click any label to edit it; click a picture to swap it; drag the grip to reorder tiles.
- 2Open the Style panel for page and tile colours, fonts, grid size and colour coding (Fitzgerald or Zones).
- 3Press “Save as my default” in the Style panel and every new material starts with your favourite look.
- 4Use undo and redo (Ctrl+Z) freely. Your work auto-saves once the material is saved.
- 5Download as PDF for printing or PNG as an image.
💡 The “Edit Game” toggle styles how the material plays in game mode: tile backs, scoreboard, sounds and animated backgrounds.
Talker (AAC)
Turn any material into a tap-to-speak communication board the learner can use on their own.
- 1Open a material and press “Open talker” (families see “Use as talker”). Tap tiles to add words to the message bar at the top, then press Speak. Delete removes the last word and Clear starts again.
- 2The learner's screen stays clean. Adult tools sit behind the Adult button: hold it for 3 seconds to open the adult panel, with Voice, Look, Access, Session tools and Privacy sections.
- 3Tiles are white with dark words. In Look you can turn on a thin word-type colour edge (off by default) and show or hide the quick row: Fix it (repair phrases), My words and Ideas. Ideas suggests likely next words, using word counts from this device if you turn on counting under Privacy (free, off by default).
- 4Linked boards work like folders. In the editor, select a tile and use “Open another board” in its Text panel, or in the Talker choose Edit board in the adult panel and tap a tile. The message is kept as you move between boards with Back and Home.
- 5Under Access, “Return to home board after choosing a word” brings the learner back to the home board after they pick a word from a folder. The word stays in the message. Words you tap while modelling stay on the current board.
- 6Tiles keep their places, so the learner can learn where words live. Locking positions and empty spaces keeps the layout steady, and .obf import and export keep positions and empty spaces too.
- 7Use Find a word in the adult panel to show where a word is, including on linked boards. The tile is highlighted for you.
- 8Model words lets you tap words to show the learner without changing their message. Collect data tallies spontaneous, modelled and prompted use during a session.
- 9Favourite phrases (in Session tools) save a message to use again; phrases saved on your own material travel with it, so families see them too. A tile's ⋮ menu in the wizard can set a fuller spoken message than its label.
- 10Lock learner mode hides adult tools and exit. Hold the lock for 3 seconds to unlock.
- 11Learner profiles save voice, speed, core words and access settings such as hold time, scanning and switch use, and follow the learner from board to board.
- 12The Talker and every access setting are free. Session data, modelling summaries, word-use insights and Open Board (.obf/.obz) import and export are Practitioner extras.
💡 The Talker stays light and readable even when the app is in dark mode. Hold the Adult button, not tap it, so the learner can't open adult tools by accident.
Guided Check-Ins
Help someone share how they feel, what is happening and what might help.
- 1Open Guided Check-In and choose the type that fits the moment.
- 2Choose a check-in: Quick, Feelings, Find support, Practise a strategy or Full reflection.
- 3Adjust the modules, theme, narration and display to suit the person and setting.
- 4Move through the prompts together. The person can choose, search, type, skip or finish at their own pace.
- 5Use the result to guide a supportive conversation and decide what to do next.
💡 Guided Check-Ins support communication and reflection; they are not a clinical assessment or formulation.
Games & play
Every material doubles as a set of learning games.

- 1Press “Play Games” on a material: memory, bingo, find-it, listen & match and more.
- 2Try “Think & Flip”: AI writes WH reasoning questions. Flip the card to reveal the answer, or play feud-style against a hidden answer list.
- 3Every tap pops with sparkles and sound. Pick a sound theme (Chimes, Arcade, Gentle) in the wizard's “Edit Game” toggle.
- 4Generate an animated background there too: describe a scene and choose Drift, Float or Zoom.
- 5For two devices, start an online game and share the join code.
💡 Games use the same pictures the child has been practising with, which makes carryover much stronger.
Session Mode
Run a live therapy session and collect data as you go.
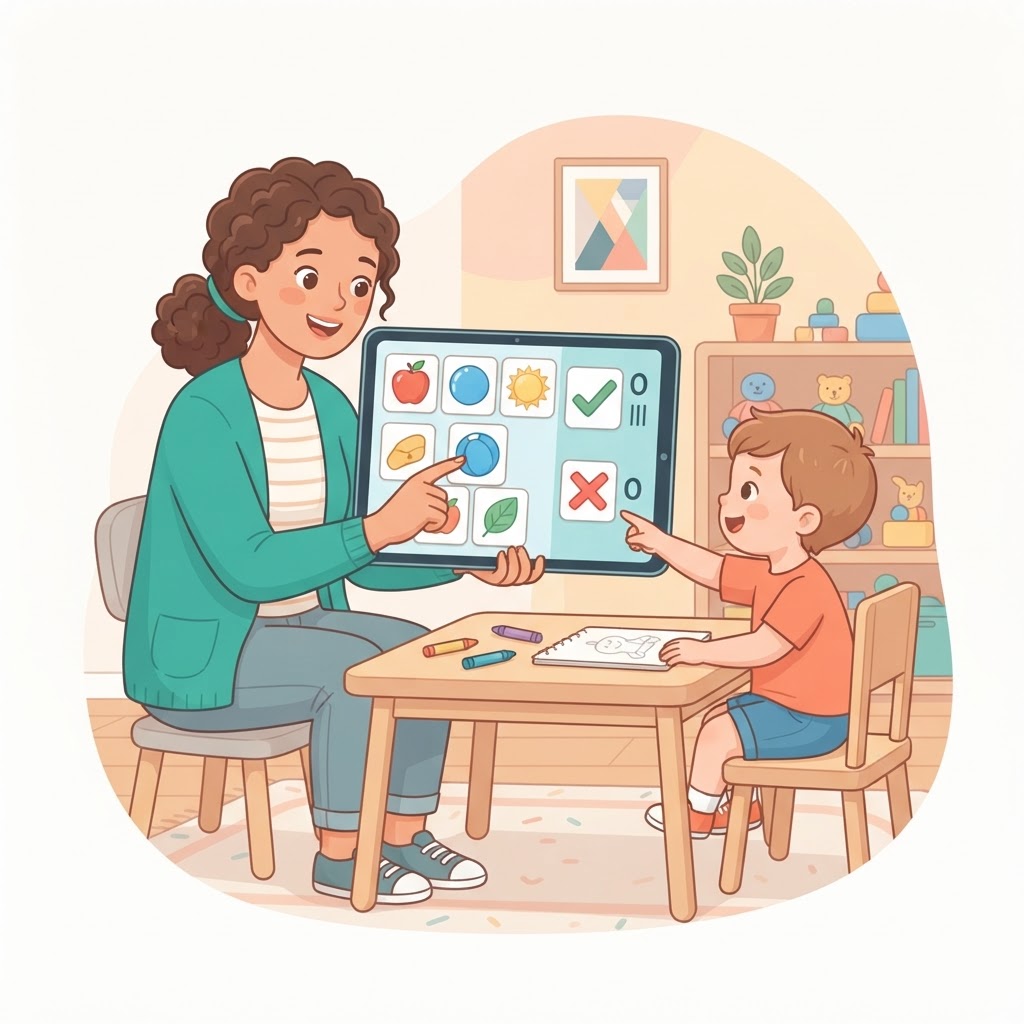
- 1Press “Session” on a material to present tiles full-screen.
- 2Tally correct and incorrect responses during the session with one tap. Tallying is free on every plan.
- 3Press “Finish & save” to save the session against a client and it appears in Insights automatically. Saving results is part of Practitioner; you can always finish without saving.
- 4The talker also has a data toggle (clipboard icon) for collecting data during AAC practice.
💡 Pair Session Mode with a client's goals so progress and accuracy build a picture over time.
Speech Tools
Purpose-built articulation tools.
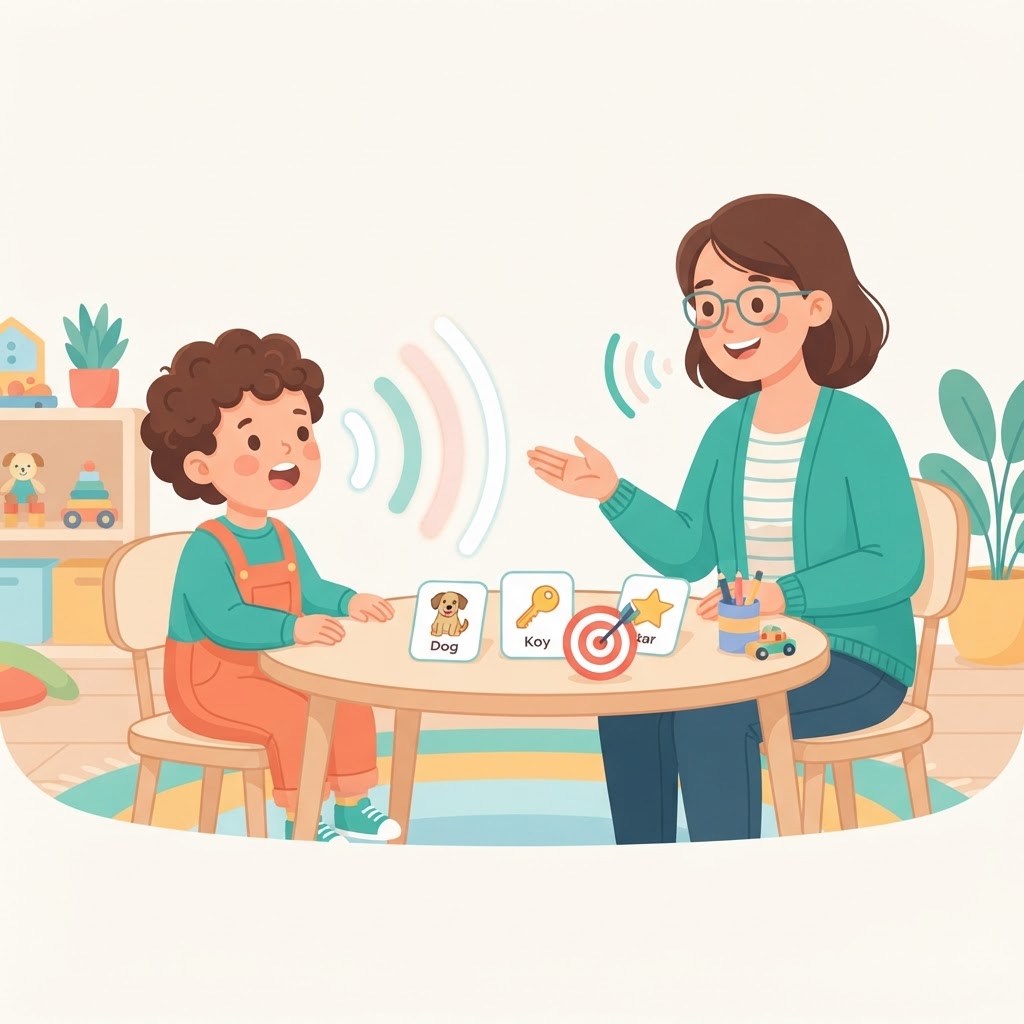
- 1Sound Finder: find words containing a target sound by position (initial, medial, final).
- 2Drill Decks: rapid-fire practice decks for a target sound with instant pictures.
- 3Phonology Studio: build clinician-selected minimal contrasts, phonological-process targets, maximal oppositions and multiple-oppositions practice, with word/phrase/sentence levels and simple accuracy capture.
- 4Send any word set to the wizard to print it as flashcards or a board.
💡 Combine a drill deck with Session Mode to collect accuracy data on a target sound.
My Library & kits
Everything you've made, organised and shareable.
- 1Materials auto-tag themselves. Filter by tag, category or client to find things fast.
- 2Copy a family share link from any material, or publish it to the Sharing Centre.
- 3Kits bundle several materials into one shareable pack with a family note.
- 4Rate your own materials and add notes so you remember what worked.
💡 Assign a material to a client and it shows up when you review that client's page.
Folders
Group materials and share the whole set with one link.
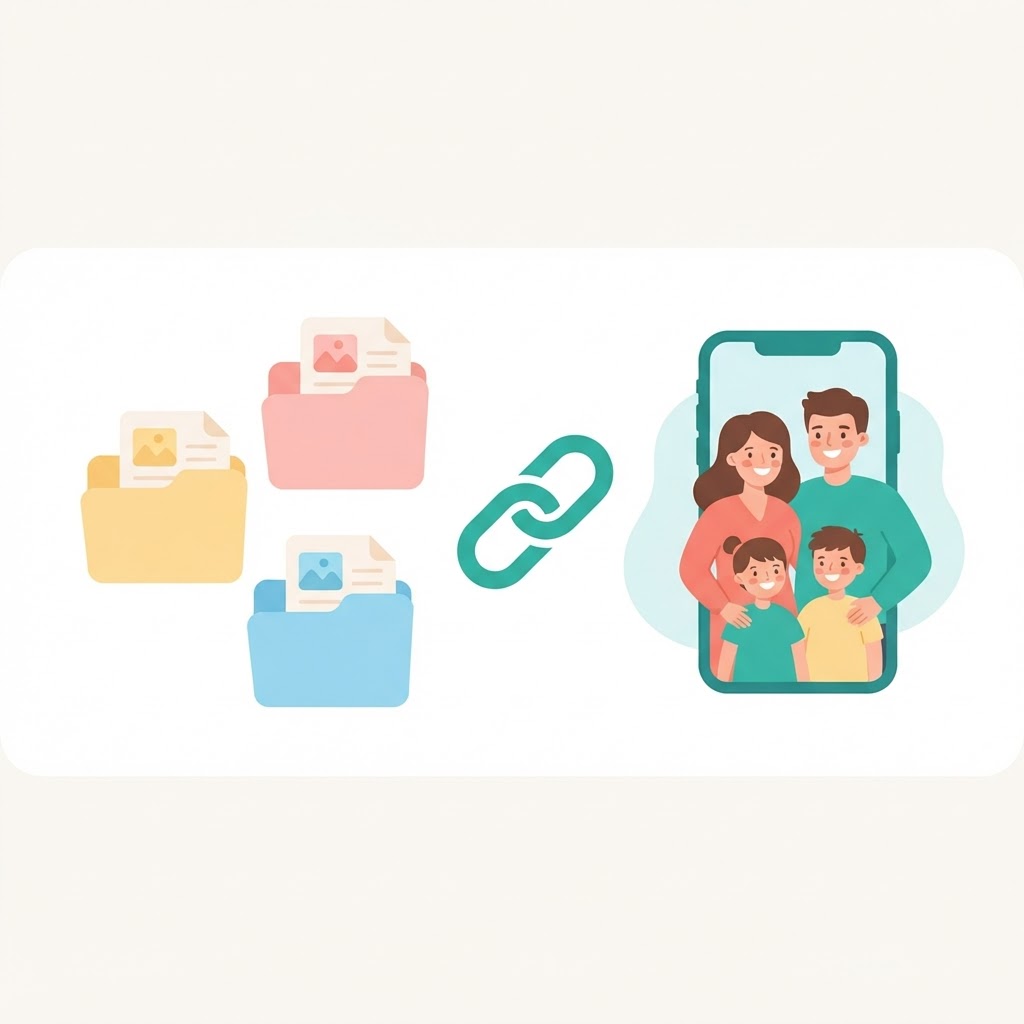
- 1Create a folder, then move materials into it from My Library.
- 2Folder cards show a live preview of what's inside.
- 3Copy the share link. Families flick between the materials with chips, and can print, practise or play each one.
- 4Publish a folder to the Sharing Centre to share the whole set with other clinicians.
💡 A folder per client or per theme (mealtimes, school morning) keeps home programs tidy.
Family share links
Send materials home. No login or app needed.
- 1Copy a share link from a material, folder or kit.
- 2Families can print, practise together (tap-to-speak), play games, read story time and use the talker.
- 3Favourite phrases you saved on the material appear for the family in talker mode.
- 4Add a family note so parents know exactly what to practise and how.
- 5Links stay live until you unshare them.
💡 Send the link by email straight from the share dialog, or show the QR code for families to scan in session.
Home Practice
Assign homework families can actually do.
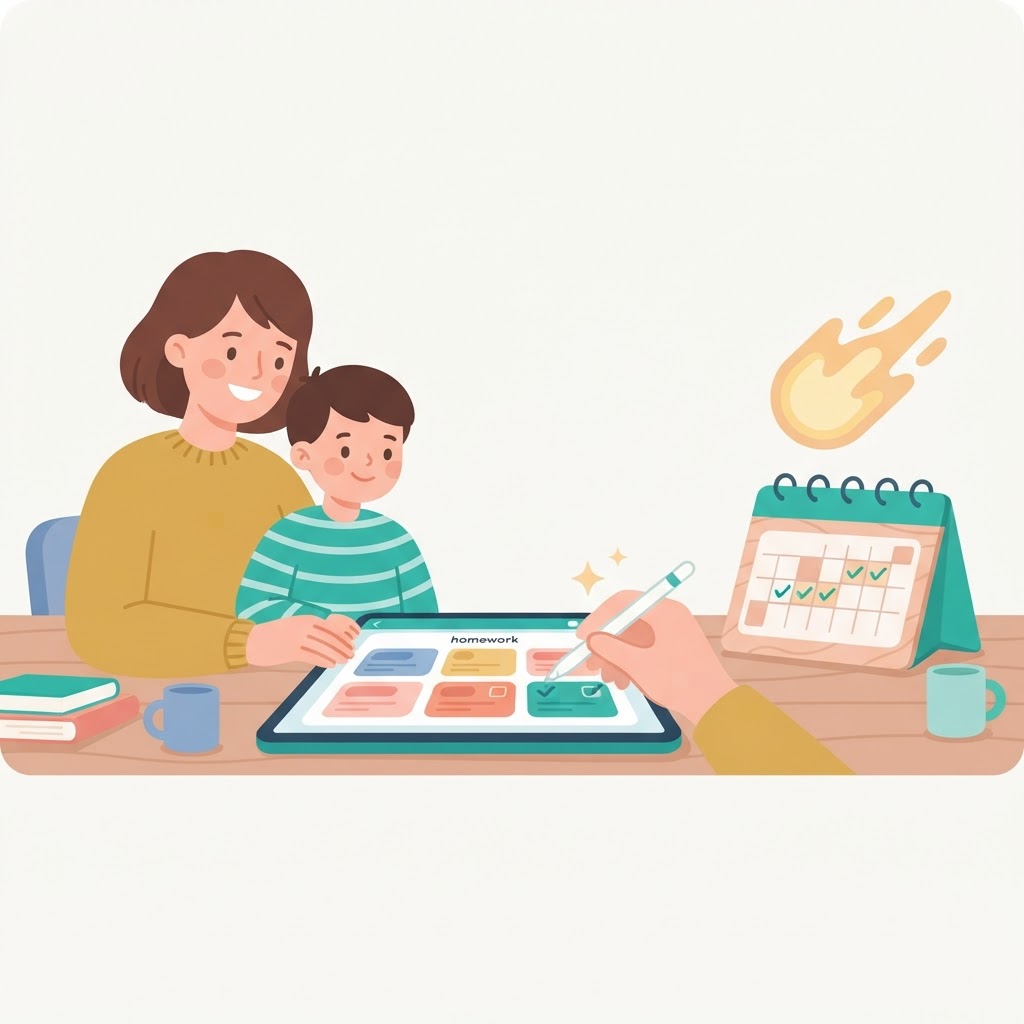
- 1Build an assignment from your materials and add a note explaining the focus.
- 2Share the link. Families tick off each activity as they complete it.
- 3Completions and streaks show up so you can see what's happening at home.
- 4Review completion before the next session to plan what to revisit.
💡 Two or three short activities per week get done. Ten don't.
Insights
A quick view of your therapy data.

- 1See sessions this week, all-time totals and average accuracy (saved session results are part of Practitioner).
- 2Compare accuracy across clients to spot who needs a program change.
- 3Check the most-used talker words to inform communication goals (word-use insights are part of Practitioner; counting itself is free and powers the Talker's Ideas).
- 4Data flows in automatically from Session Mode and talker data collection.
💡 Accuracy trending up on a goal is great evidence for reviews and reports.
Behaviour Plans
A guided, printable positive behaviour support plan.
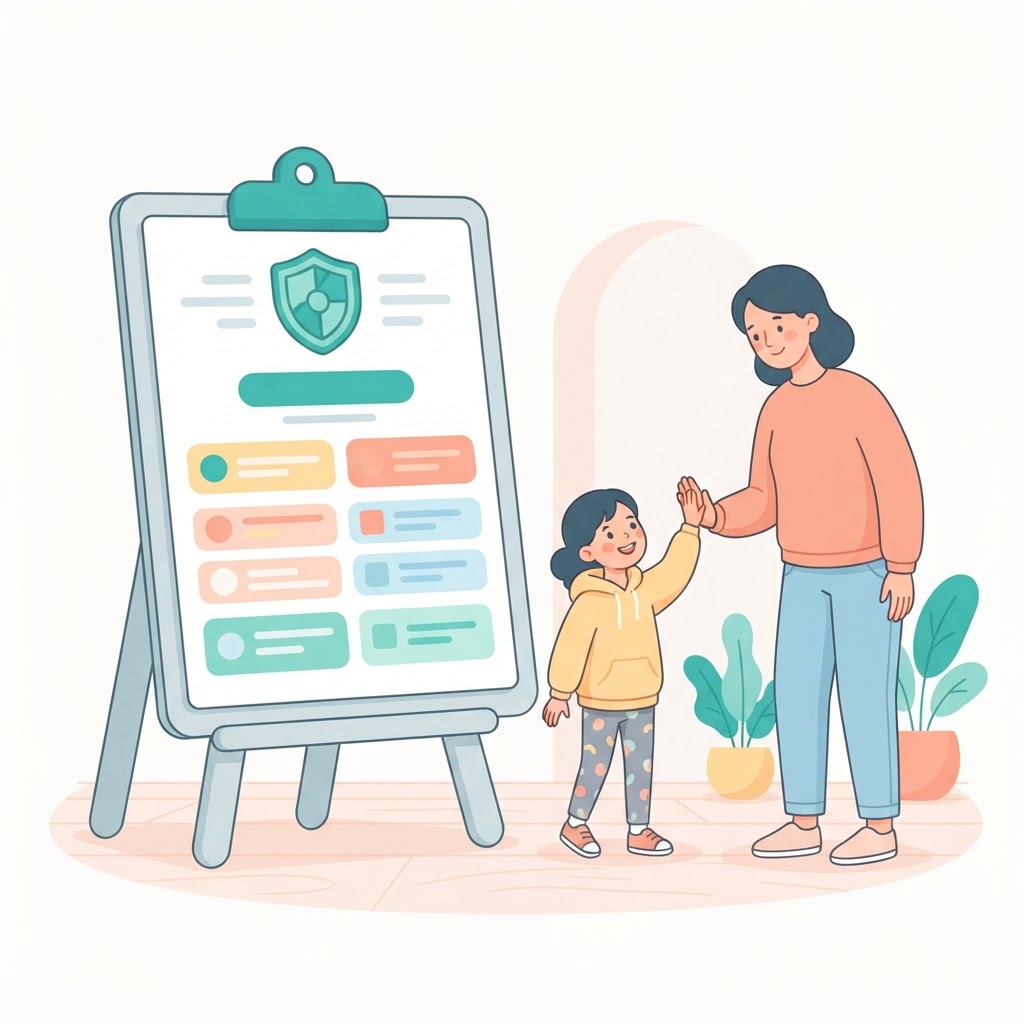
- 1Open Create then Behaviour Plan and work through the guided sections.
- 2Use an alias to keep the plan de-identified.
- 3Your Evidence Library shapes the strategies the AI suggests.
- 4Print or download the finished plan, or press “Build visuals in Wizard” to create matching visual supports.
💡 Pair the plan with a visual schedule and calming cards made from the same strategies.
Evidence Library
The frameworks and research that guide everything the AI makes for you.
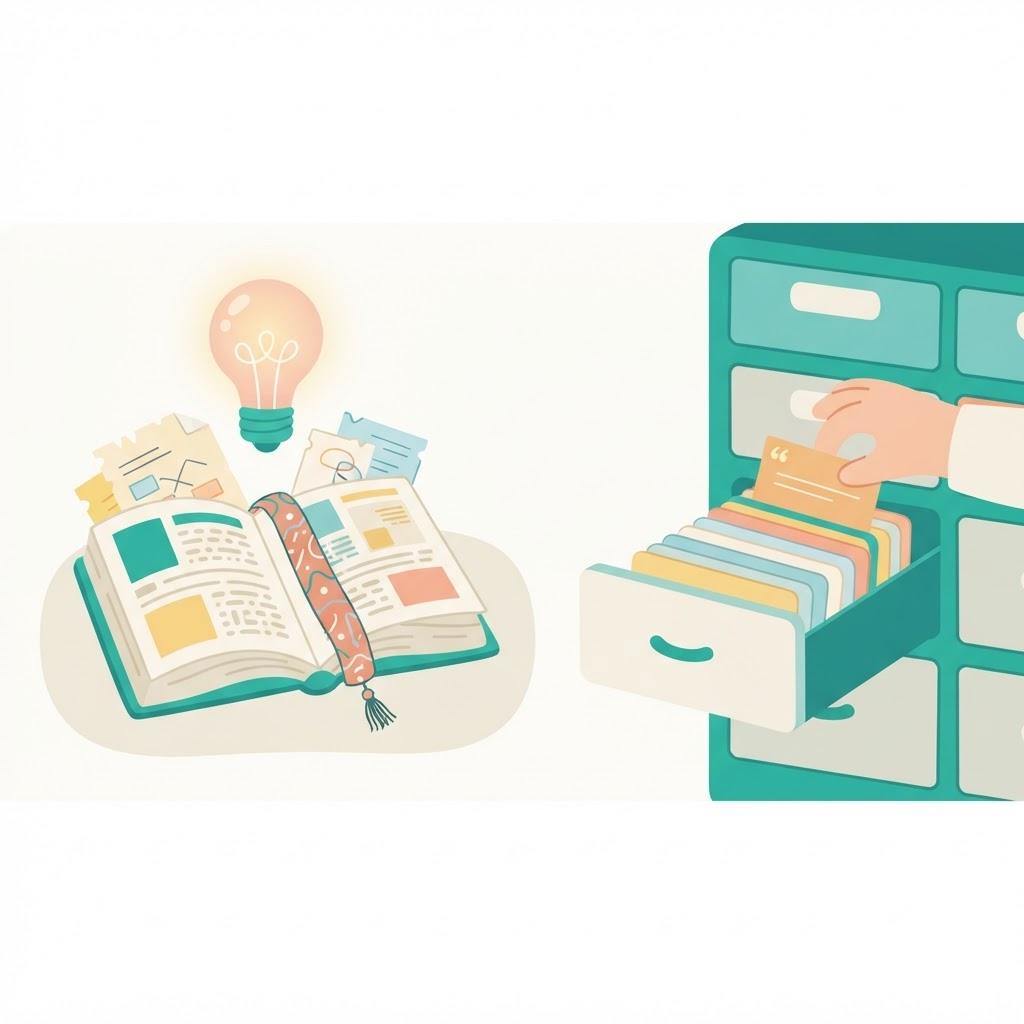
- 1Add frameworks, guidelines and research findings you practise by.
- 2Every entry is woven into AI Create, the wizard's AI chat and Behaviour Support Plans automatically.
- 3Press “Suggest new evidence” to pull fresh, high-quality frameworks from current research.
- 4Tap the sparkle on any entry and AI reviews it against current evidence and proposes improvements.
💡 A well-kept evidence library means every AI-generated material reflects your clinical approach.
Free vs Practitioner
What's included on each plan.
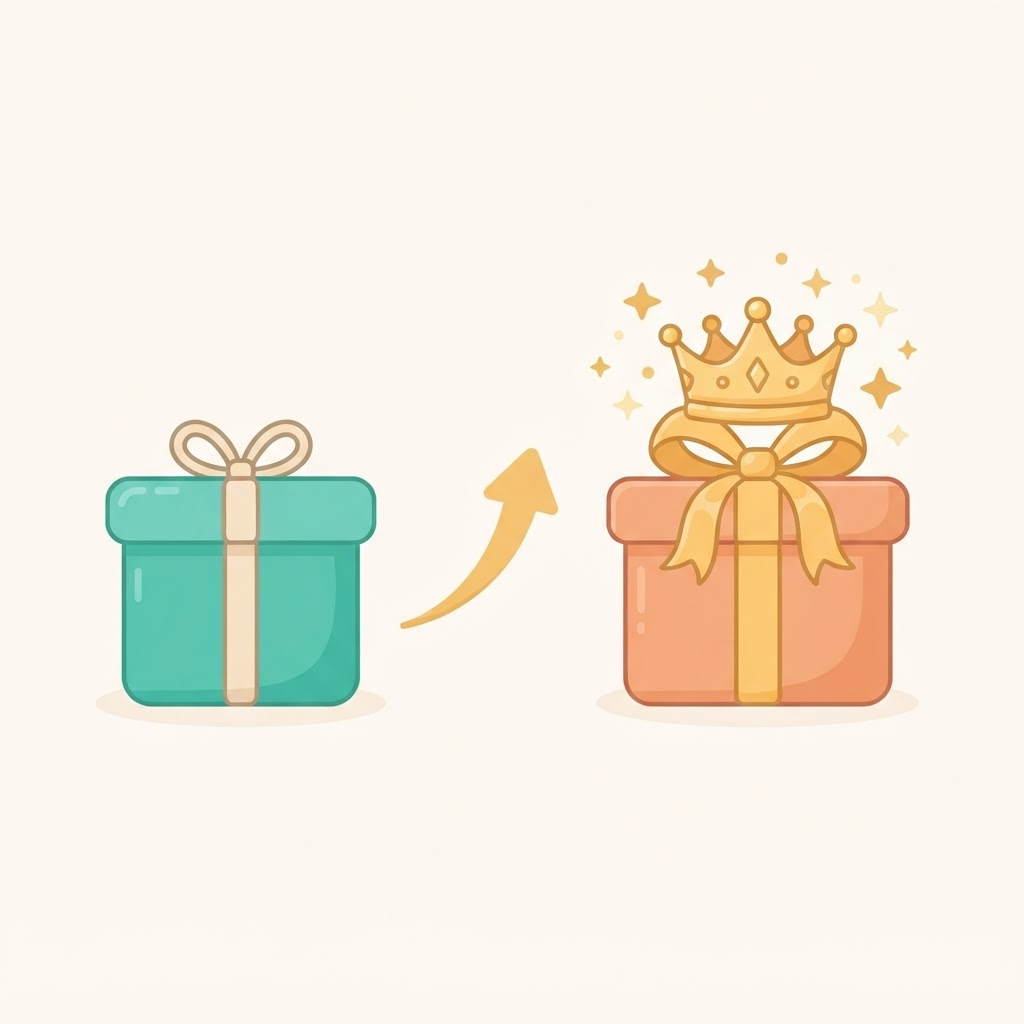
- 1Free: build and preview everything, the full AAC Talker and Session Mode tallying. Downloads carry a small watermark.
- 2Practitioner: watermark-free PDFs and PNGs, plus full AI features, Talker session data, modelling reports, word-use insights, and saved Session Mode results.
- 3Upgrade any time from the Pricing page. Your saved work stays exactly as it is.
Tip: the small ? beside any page title opens the right section here.